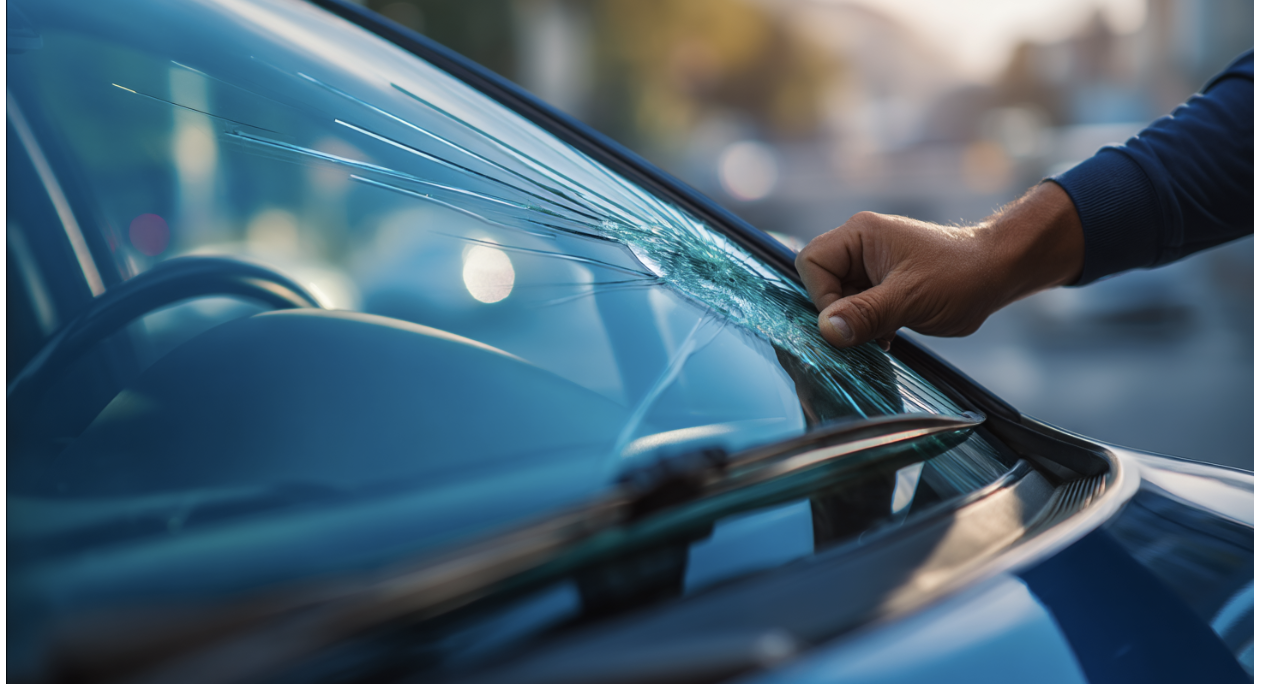
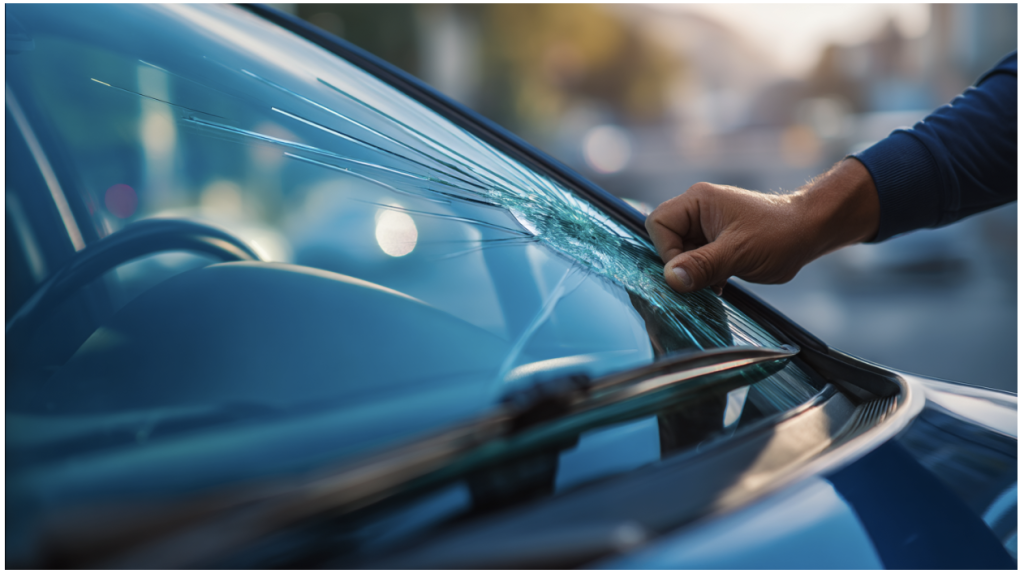
A cracked or damaged windshield can be more than an inconvenience. It can affect visibility, weather sealing, vehicle safety systems, and even the structural performance of the car. While many drivers search for how to replace windshield glass because they want to understand the process, this repair is not as simple as swapping out a basic part.
A windshield is bonded to the vehicle with strong urethane adhesive. It must fit correctly, seal properly, cure for the right amount of time, and work with any cameras or sensors built into the vehicle. If the installation is done poorly, the result can be leaks, wind noise, warning lights, poor camera performance, or reduced crash protection.
Understanding the process can help drivers make better repair decisions and know when professional replacement is the safer choice.
Can You Replace a Windshield Yourself?
In theory, a windshield can be replaced by someone with the right tools, materials, glass, and experience. In practice, most windshield replacements are best handled by trained professionals.
The process involves removing trim and wipers, cutting out the old adhesive, lifting out the damaged glass, preparing the windshield opening, applying automotive urethane, setting the new windshield, reinstalling components, and allowing the adhesive to cure.
That process requires precision. The windshield must be centered correctly, the adhesive bead must be continuous, and the bonding surface must be clean and properly prepared. A small mistake can lead to leaks or weak adhesion.
Why Windshield Replacement Is a Safety Repair
A windshield is not just a piece of glass that blocks wind. It helps protect occupants, supports visibility, contributes to roof strength, and works with airbags during a crash. In many vehicles, the passenger airbag may rely on the windshield as part of its deployment path.
Modern windshields may also support advanced safety features. Cameras and sensors mounted near the glass may help with lane departure warning, automatic emergency braking, adaptive cruise control, and forward collision warning.
Because of this, windshield replacement should be treated as a safety repair, not just a cosmetic fix.
Signs Your Windshield Needs Replacement Instead of Repair
Some minor chips can be repaired, but not all windshield damage is repairable. Replacement is often needed when cracks are large, spreading, located near the edge of the glass, or directly in the driver’s line of sight.
Damage in the driver’s viewing area is especially important because even a repaired chip can distort visibility. Multiple chips or severe impact damage can also weaken the glass enough that replacement is safer.
Windshield leaks, wind noise, or signs of poor previous installation may also point to a bonding or sealing problem. In those cases, replacing or reinstalling the glass may be necessary to restore proper function.

Step 1: Choose the Right Replacement Windshield
The replacement windshield must match the vehicle’s year, make, model, trim, and features. Two windshields may look similar but have important differences.
Some vehicles require glass with rain sensors, lane cameras, heating elements, acoustic layers, tint bands, heads-up display compatibility, or special mounting points. Installing the wrong glass can affect fitment, sealing, visibility, and safety system performance.
Drivers may also need to choose between OEM and aftermarket glass. OEM glass is made to match the original manufacturer specifications. Aftermarket glass may be more affordable, but it still needs to fit correctly and be compatible with the vehicle’s systems.
Step 2: Inspect the Vehicle Frame and Surrounding Area
Before a new windshield is installed, the surrounding area should be inspected. The windshield opening, often called the pinch weld, needs to be clean, solid, and properly prepared for adhesive.
Rust, dents, damaged paint, previous poor repairs, or bent metal around the windshield can affect bonding. If the urethane cannot bond properly, the windshield may leak or fail to perform as intended.
If the windshield damage happened after an accident or there are signs of body damage around the roof, hood, or pillars, Relux Collision helps drivers understand whether collision repair should be addressed before replacing the glass.
This matters because cracked glass after an accident may not be an isolated issue. The surrounding structure may need inspection before the new windshield is installed.
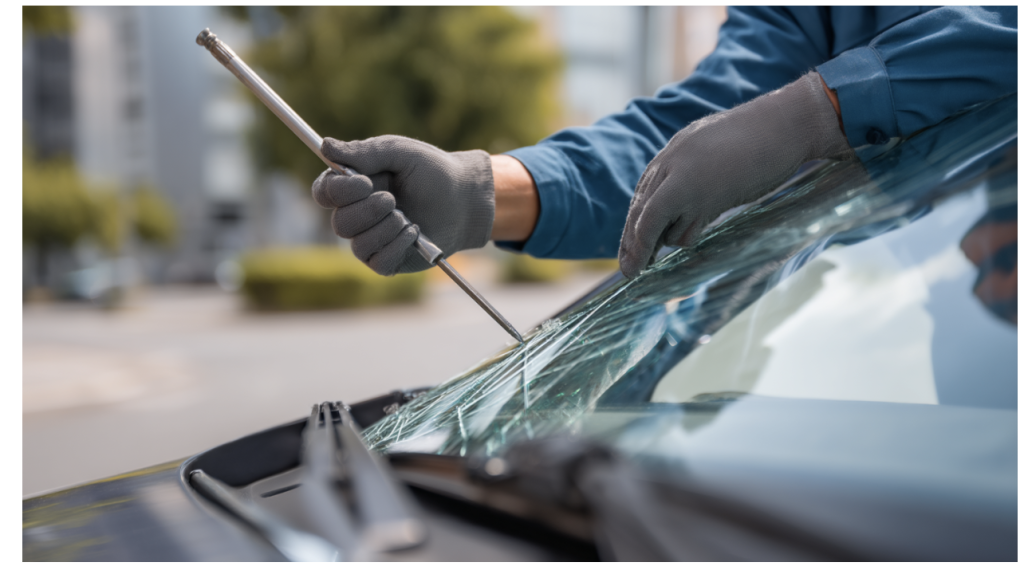
Step 3: Remove the Damaged Windshield
The removal process starts by taking off or protecting parts that block access to the windshield edges. This may include wipers, trim, exterior covers, moldings, and interior panels.
Next, the old urethane adhesive is carefully cut so the damaged glass can be removed. This step must be done without damaging the pinch weld or surrounding paint. Damage to the bonding surface can create future rust or sealing issues.
The windshield is then lifted out carefully. Auto glass is large, heavy, and fragile, so proper lifting tools and safe handling are important.
Step 4: Prepare the Pinch Weld and Apply Adhesive
The preparation step is one of the most important parts of windshield replacement. The surface must be cleaned and prepared so the new urethane can bond correctly.
Loose adhesive, dirt, debris, rust, and contaminants must be removed. Bare metal may need primer. The old adhesive may be trimmed to the proper level depending on the installation method and product requirements.
Automotive urethane is then applied around the windshield opening. The bead must be the correct height, shape, and consistency. Gaps, uneven areas, or contamination can lead to water leaks, wind noise, or weak bonding.
Step 5: Install the New Windshield
Once the adhesive is ready, the new windshield is set into place. Alignment matters. The glass should be centered, evenly spaced, and positioned to match the factory fit.
After the windshield is placed, it is pressed into the urethane to create a proper seal. Trim, wipers, covers, and related components are then reinstalled carefully.
The installer should check the fit, edges, and visible gaps before the vehicle is released. A poorly seated windshield may not seal correctly and may create problems later.
Step 6: Allow Proper Cure Time
After installation, the urethane needs time to cure. This is often called safe drive-away time, which means the amount of time required before the vehicle can be driven safely.
Cure time depends on the adhesive, temperature, humidity, and manufacturer instructions. Driving too soon can affect the bond before it has developed enough strength.
During the curing period, avoid car washes, slamming doors, heavy pressure on the glass, and unnecessary disturbance around the windshield. These precautions help protect the seal while the adhesive sets.
Step 7: Recalibrate Cameras and Safety Systems if Needed
Many modern vehicles have cameras or sensors mounted near the windshield. If the windshield is replaced, those systems may need recalibration.
ADAS recalibration helps ensure safety systems can read the road correctly. Features like lane departure warning, automatic emergency braking, adaptive cruise control, and forward collision warning may rely on windshield-mounted cameras.
Skipping calibration can be dangerous if the vehicle requires it. A camera that is slightly misaligned may not detect lanes, vehicles, or objects accurately. If the vehicle has ADAS features, drivers should ask whether calibration is required after replacement.
When Should You Get Professional Windshield Replacement?
Professional windshield replacement is usually the safer choice for most drivers, especially if the vehicle has advanced safety features, rain sensors, heads-up display technology, or camera systems.
It is also important after a collision. A cracked windshield may be related to body movement, frame damage, roof damage, pillar damage, or hidden repair needs.
If a windshield crack, leak, or fitment issue appeared after a collision, Relux Collision can help drivers evaluate whether the glass issue is part of a larger body repair concern. Professional help is recommended if there is rust around the windshield, signs of water leaks, wind noise, uneven fitment, or evidence of a poor previous installation.
Common Windshield Replacement Mistakes to Avoid
One common mistake is using the wrong glass. If the windshield does not match the vehicle’s features, it may affect sensors, visibility, heating elements, heads-up display clarity, or overall fit.
Another mistake is rushing the adhesive cure time. The vehicle may look ready to drive before the adhesive has reached safe strength.
Ignoring ADAS calibration is also a serious issue. If the vehicle requires recalibration and it is skipped, safety systems may not perform correctly.
Installing over rust or damaged metal is another problem. A windshield needs a clean, solid bonding surface. Rust or structural damage can lead to leaks, weak adhesion, and future repair problems.
Finally, drivers should avoid treating windshield replacement as cosmetic only. The glass plays an important role in safety and vehicle performance.
Final Thoughts: Windshield Replacement Should Prioritize Safety
Learning how to replace windshield glass helps drivers understand the process, but it also shows why this repair should be handled carefully. The right glass, clean frame, proper urethane, safe cure time, and accurate calibration all matter.
For older vehicles without advanced features, the process may be more straightforward. For newer vehicles with cameras, sensors, ADAS systems, or collision-related damage, professional replacement is often the safest path.
A windshield should protect visibility, seal out weather, support safety systems, and fit the vehicle properly. When those details are handled correctly, the repair does more than replace broken glass. It restores confidence every time you drive.