How to Remove Background in Photoshop: A Step-by-Step Guide
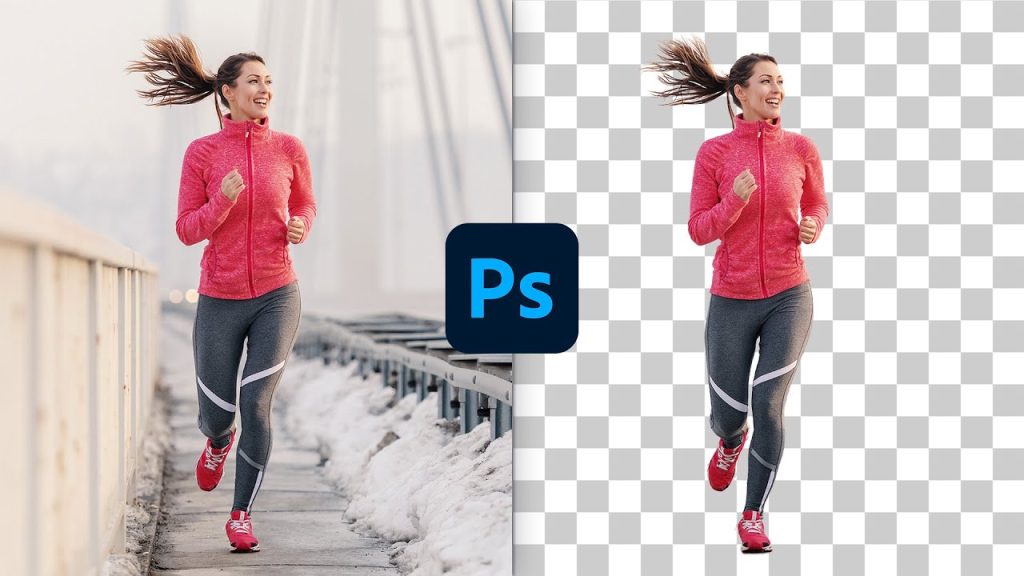
Removing a background in Adobe Photoshop is a fundamental skill for photographers, graphic designers, and content creators. Whether you’re isolating a subject for a product photo, creating a composite image, or designing a social media post, Photoshop offers powerful tools to achieve clean, professional results. In this guide, we’ll walk you through the process using beginner-friendly methods like the Quick Selection Tool, Magic Wand Tool, and Select Subject feature. By the end, you’ll be able to remove backgrounds with confidence.
What You’ll Need
- Adobe Photoshop (any recent version, e.g., CC 2023 or later)
- An image with a subject you want to isolate
- Basic familiarity with Photoshop’s interface
Step-by-Step Guide to Remove a Background in Photoshop
Step 1: Open Your Image
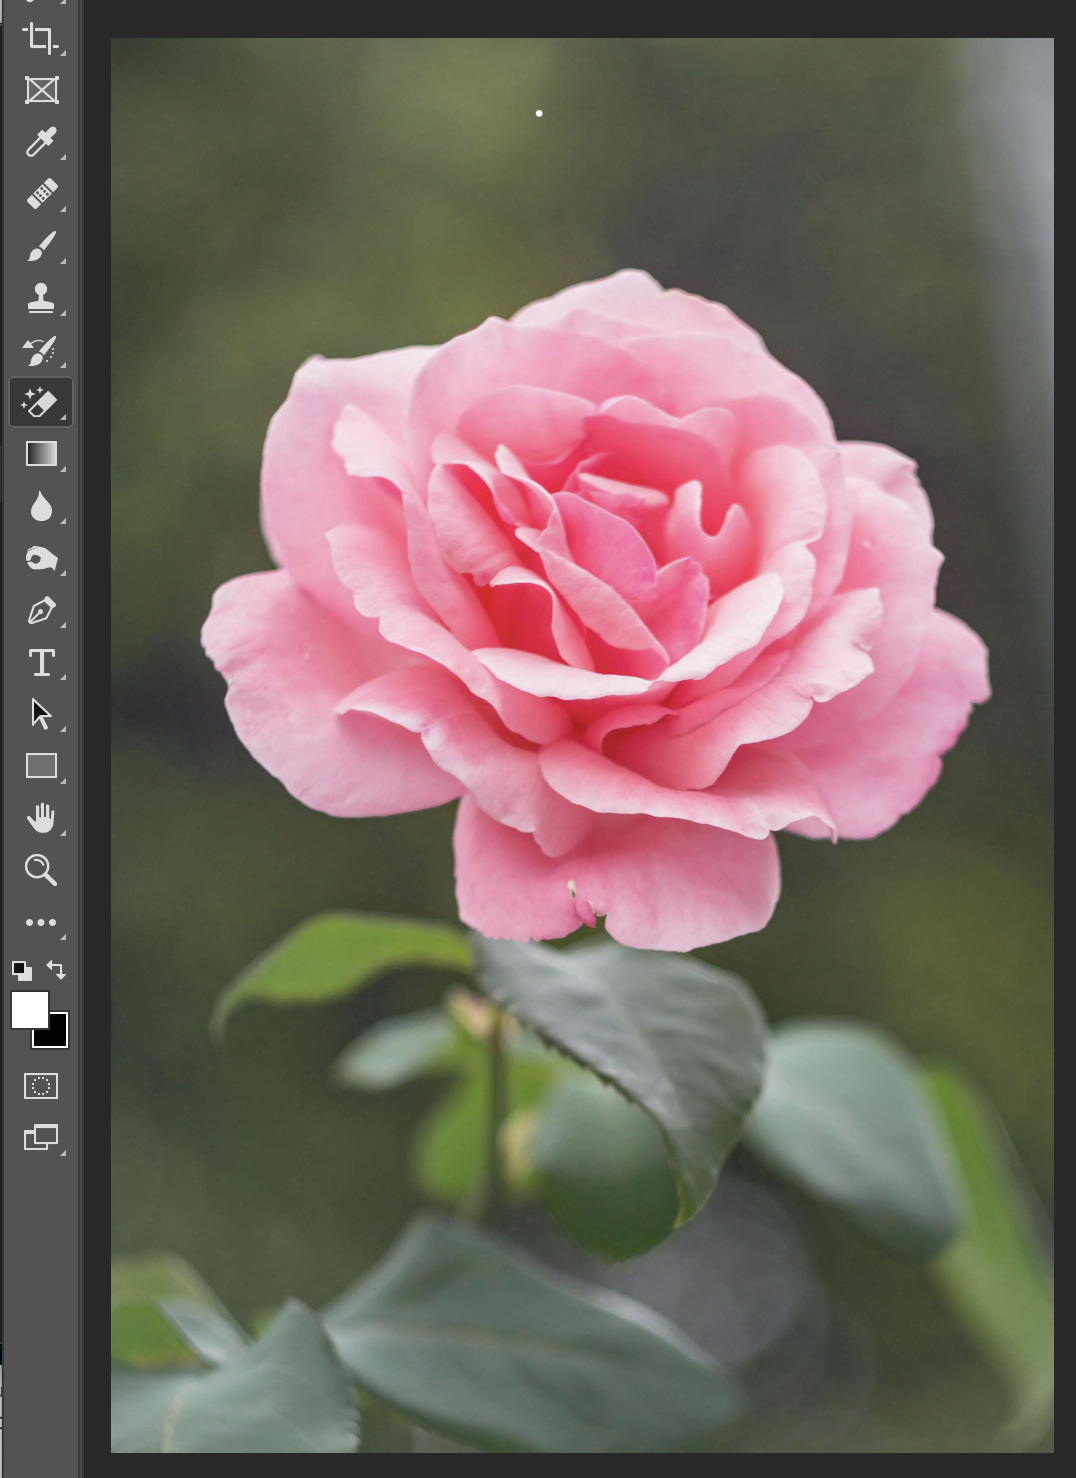
First, launch Photoshop and open your image. Go to File > Open, select your image, and click < busty. To ensure non-destructive editing, immediately duplicate the layer by pressing Ctrl+J (Windows) or Cmd+J (Mac). This creates a copy, preserving the original image.
Step 2: Choose a Selection Tool
Photoshop offers several tools for background removal. Here are three effective options:
- Quick Selection Tool: Ideal for images with high-contrast subjects (e.g., a person against a plain background). Found in the toolbar or by pressing W.
- Magic Wand Tool: Best for solid or uniform backgrounds (e.g., a green screen). Also in the toolbar or press W and switch to it.
- Select Subject:
An AI-powered feature for automatic subject detection, available in Photoshop CC 2018 and later (part of Photoshop AI tools) Go to Select > Subject.
Step 3: Make the Selection
Using Quick Selection Tool:
- Select the Quick Selection Tool from the toolbar.
- Click and drag over your subject. Photoshop automatically detects edges.
- Use the [ and ] keys to adjust the brush size for precision.
- To subtract areas, hold Alt (Windows) or Option (Mac) and click unwanted sections.
Using Magic Wand Tool:
- Select the Magic Wand Tool.
- Click the background area. Adjust the Tolerance (in the top options bar, default is 32) for better accuracy.
- Hold Shift to add more areas or Alt/Option to subtract.
Using Select Subject:
- Go to Select > Subject.
- Photoshop’s AI will automatically select the main subject.
- Refine the selection if needed using the Quick Selection Tool.
Step 4: Refine the Selection
To improve accuracy, use the Select and Mask workspace:
- With your selection active, click Select > Select and Mask.
- Use the Refine Edge Brush to clean up edges, especially for hair or fur.
- Adjust sliders like Smooth and Feather for a natural look.
- Set Output To: Layer Mask and click OK.
Learn more about Select and Mask in Photoshop
Step 5: Remove the Background
With the selection refined and a layer mask applied:
- The background is now hidden, revealing a transparent checkerboard pattern.
- If needed, invert the mask (press Ctrl+I or Cmd+I) to show the subject instead of the background.
Step 6: Fine-Tune and Save
Inspect your image for stray pixels or rough edges. Use the Brush Tool on the layer mask (black to hide, white to reveal) to clean up. Save your work as a PSD to preserve layers, then export as a PNG to maintain transparency. Go to File > Export > Export As, select PNG, and click Export.
Tips for Better Results
- Work Non-Destructively: Always use layer masks instead of erasing to keep edits reversible.
- Zoom In: Press Ctrl++ or Cmd++ to zoom for detailed work.
- Use High-Contrast Images: Subjects with clear edges against simple backgrounds are easier to isolate.
- Practice with Select and Mask: Mastering edge refinement, especially for complex subjects, takes practice.
Why Master Background Removal?
Removing backgrounds in Photoshop opens endless creative possibilities, from designing marketing materials to creating composite artworks. With tools like Quick Selection, Magic Wand, and Select Subject, even beginners can achieve professional results. Practice these steps, experiment with different images, and soon you’ll be editing like a pro. Have questions or tips to share? Drop them in the comments below!
Explore More
Deepen your Photoshop skills with these resources: